Using marks:
Waypoints
Tracks
Routes
Areas
Images
Scales
Mark properties
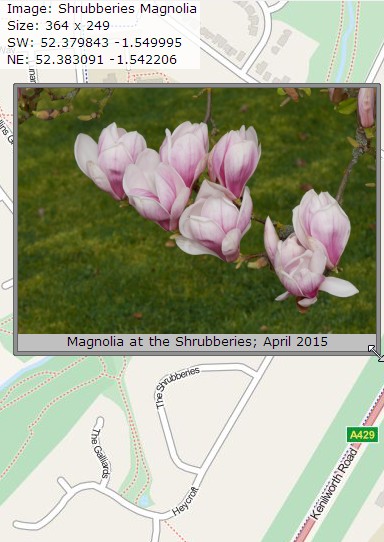
An image is a mark that displays an image on a map; the image has a specific location and size, so it can be used to display geographical information – such as satellite or drone images or a cave survey – onto a map, or you can add an image that simply illustrates features not visible on a map. Images are drawn ‘beneath’ other marks so they do not obscure them.
To create an image, you can:
- select the Marks → Add new image menu item
- right-click on the map and select Add new image on the pop-up menu.
Either of these will open the file-selector to choose an image to display. The image is then shown on the map, with a border; you can then left-click on any edge or corner of the border and drag it to adjust the image position and size. If you left-click on the image itself you can drag it to change its position without affecting its size.
MapGazer can load many types of images (JPEG, PNG, GIF, BMP, TIFF, etc.); however, in general JPEG images are faster and often have metadata such as the image location.
The size of the image in pels (image pixels) and the coordinates of its SW and NE corners will be shown at top-left of the map when the cursor is over, or dragging, the border or content of the image (you can turn these off using the Settings → Status display → Show image coordinates menu item).
The position or geographical size of an image is not affected by zooming, so you can zoom in to position it accurately. You can also open one or more extra windows (press ‘v’) and then use those windows to zoom in on different edges of the image.
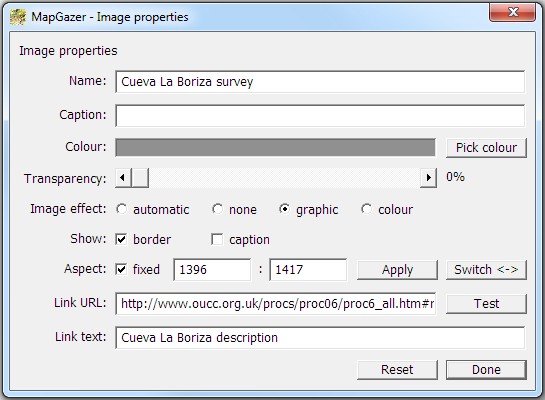
When loaded, an image has a fixed aspect ratio. You can adjust its aspect ratio if necessary by unselecting Fixed aspect ratio in the pop-up menu or in the Properties dialog (see below) and then either drag the border of the image that you wish to change or enter a numerical aspect ratio in the Properties dialog and click Apply.
Similarly, an image has an image effect that is used when it is displayed. This may be:
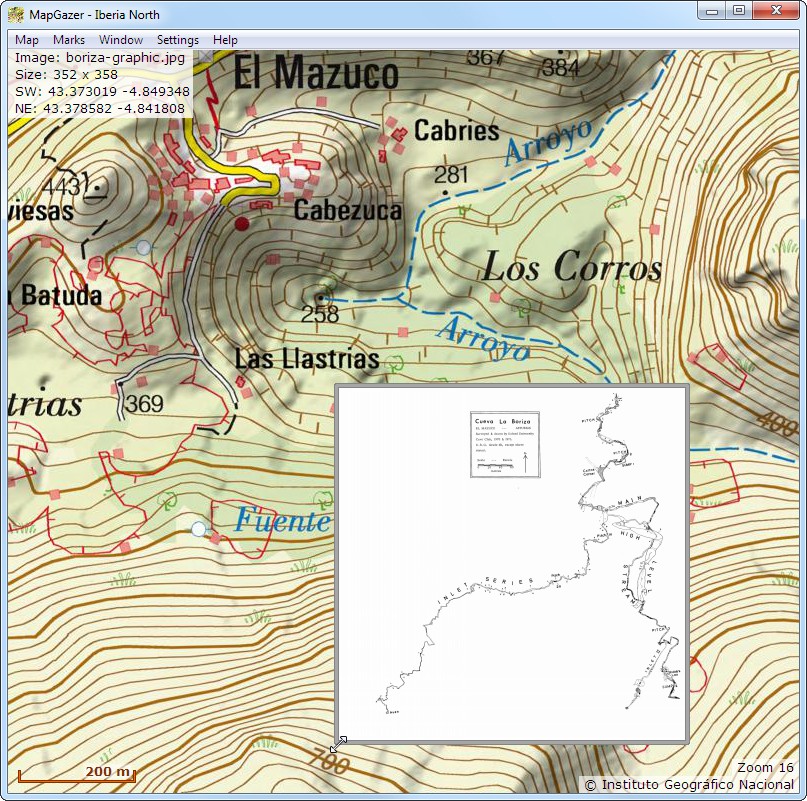
- none – the image is displayed as-is
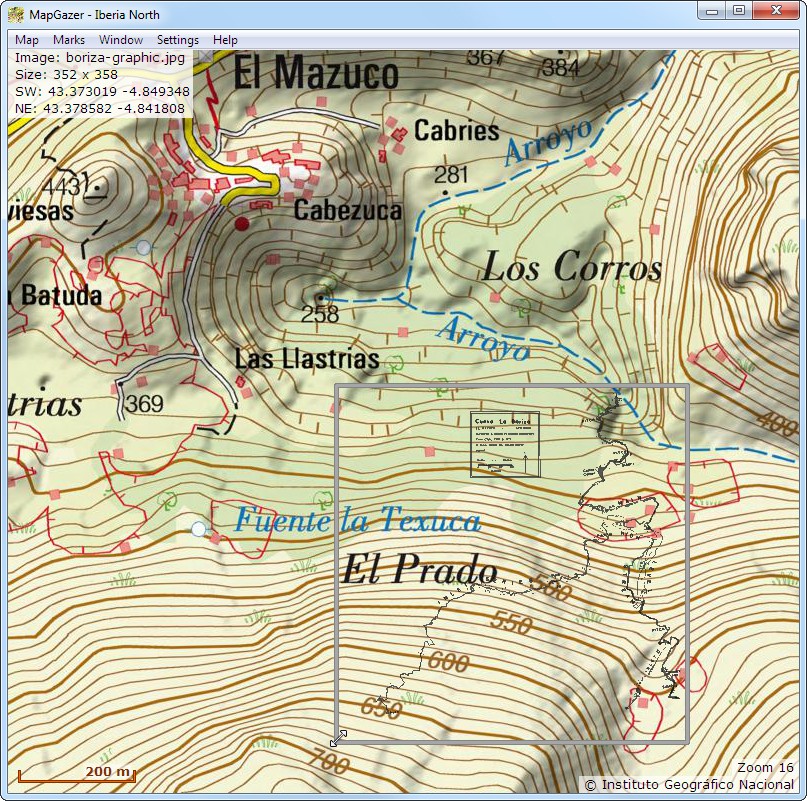
- graphic – white or near-white areas of the image are excluded from the image and are transparent, and transparency of the remainder depends on brightness
- colour – as graphic except that the Image properties colour is used for drawing the image (as well as the border) instead of the original image colour(s).
The graphic and colour effects are useful for showing images like drawings or cave surveys – see the screenshots below. The image effect can be changed from the Properties dialog (see below). The image effect may also be automatic, which means that MapGazer will attempt to determine which effect to use automatically.
To change the properties (name, colour, aspect ratio, image effect, link URL, etc.) of an image, right-click on the image border or content and select the Image properties menu item; for more details, see Mark properties. You can change the displayed width of the image border using Settings → Line widths.
Images loaded from .png files may have transparency information; all images may have their transparency increased using the Transparency slider in the Properties dialog.
At any time you can view the image’s coordinates, and copy details to the clipboard for use by another application, by right-clicking on the image border or content and choosing the Image details menu item.
To change the format used for Latitude and Longitude, select Settings → Position formats on the menu bar; see the General settings page for
You can show or hide the border or caption of an image by right-clicking on the image and clicking Show border or Show caption. If hidden, you can show them again by right-clicking on the image (or where the border was) and again click Show border or Show caption. These settings can also be changed using the checkboxes in the Image Properties dialog (which is also where you can edit the
Images can be saved to or loaded from GPX files:
To save an image right-click on the image or its border and select Save image to GPX file on the pop-up menu (this includes its position and properties, including border colour, aspect ratio, and whether the border and/or caption are displayed). Alternatively, all marks (including all images) can be saved using the Marks → Save marks to GPX file menu item (or press the ‘s’ key).
To load a GPX file, use the Marks → Load marks from GPX file menu item (or press the ‘L’ key). This will open a dialog which you can use to select the GPX file to open. Any marks (tracks, routes, waypoints, images, and areas) in the file will then immediately be shown on the map (you may have to zoom or change the map, or move it, for the marks to be in view).
Depending on the source of the GPX file, image borders may have a default (grey) colour or may have a colour that was set later.
If an image has been loaded from a GPX file it can be adjusted as described above (it is initially ‘locked in position’ to prevent accidental relocation; use the image’s pop-up menu and select Allow dragging to unlock the image). At any time you can reset an image loaded from a GPX file to its original data by right-clicking on the image border and selecting Reset image.
To delete an image, right-click on the image or its border and select Delete image on the pop-up menu.
Here are two screenshots; one showing an image with the graphic effect and the other with no image effect applied:


